

I really wish that I had something more insightful to say about this encounter but to be honest, I had effectively brute forced Demon Wall down with Shout boosted SSB spam towards the end of the fight. I had somehow managed to master this fight despite entering phase 3 and losing all but Pecil and Lightning. As it turns out however, he is neither that beefy nor does he have all that much health. If you have enough physical gear with synergy and can in some way deal with his damage output, you can just burn him down.
[wpdatatable id=9]
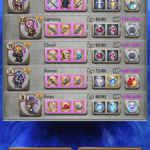
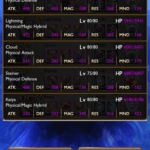
Roaming Warrior: Ramza (Shout)
Notable Soul Breaks: Sentinel’s Grimoire, Blade Beam, Crushing Blow
I did have a native wall (SG), but ended up leaving both Shout and Medica out for the sake of full party synergy. Draw Fire really wasn’t all that useful in any sense. I would probably have been better off swapping it out with another healing spell.
The one and only thing that I did read about this encounter was to place your highest damaging party member dead in the middle. The main gimmick of the counter has something to do with Royal Tomb, which will target 3 consecutive party members at a time (the top 3, the middle 3, or the bottom 3).
I am pretty sure that the trick is to make sure that only the party members targeted by Royal Tomb are the ones who are attacking. Everyone else should either be on standby, healing, or support. Since the party member in the center will always be targetted, s/he should stack as much DPS as possible.
Phase 1 of the fight is a straight burn. Ignore mitigation, get Shout up ASAP and burst him down to phase 2. If you take too long (like I did during my first attempt), he will Gravija your entire party and you will lose the mastery condition.